3D PRINTING · H0 · FAIRGROUND

3D-printed fairground rides in H0 scale

Detailed STL models, thoughtfully engineered and ready for your miniature fairground.
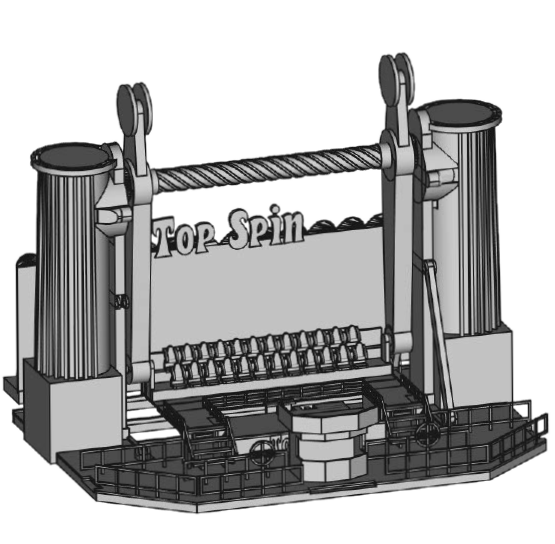
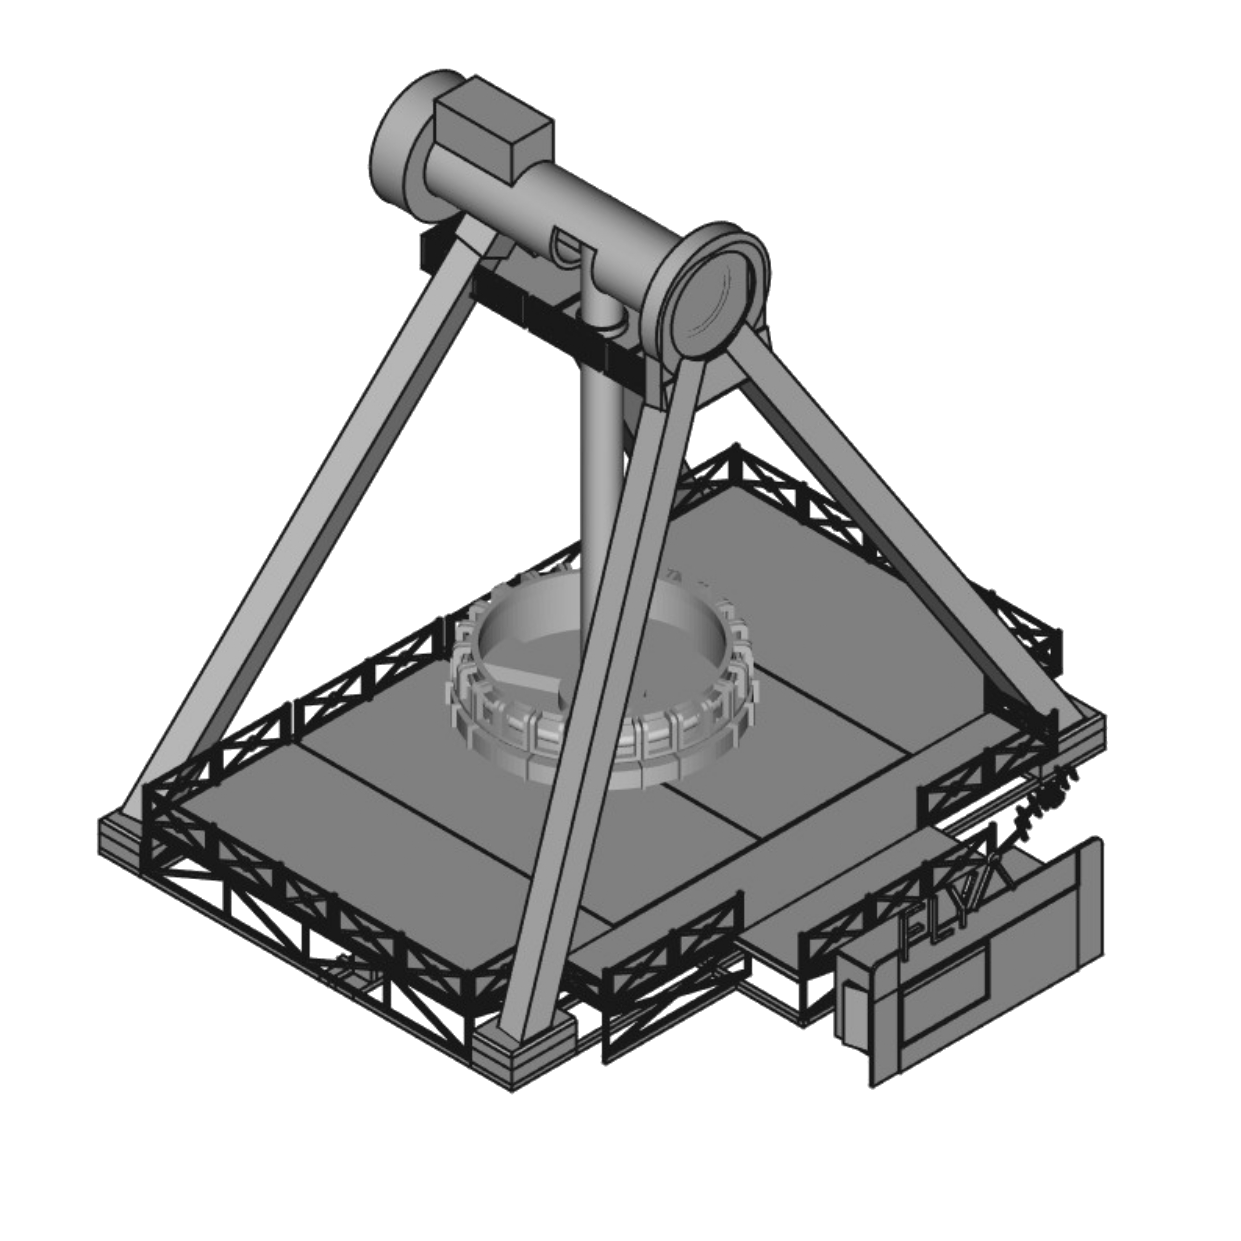
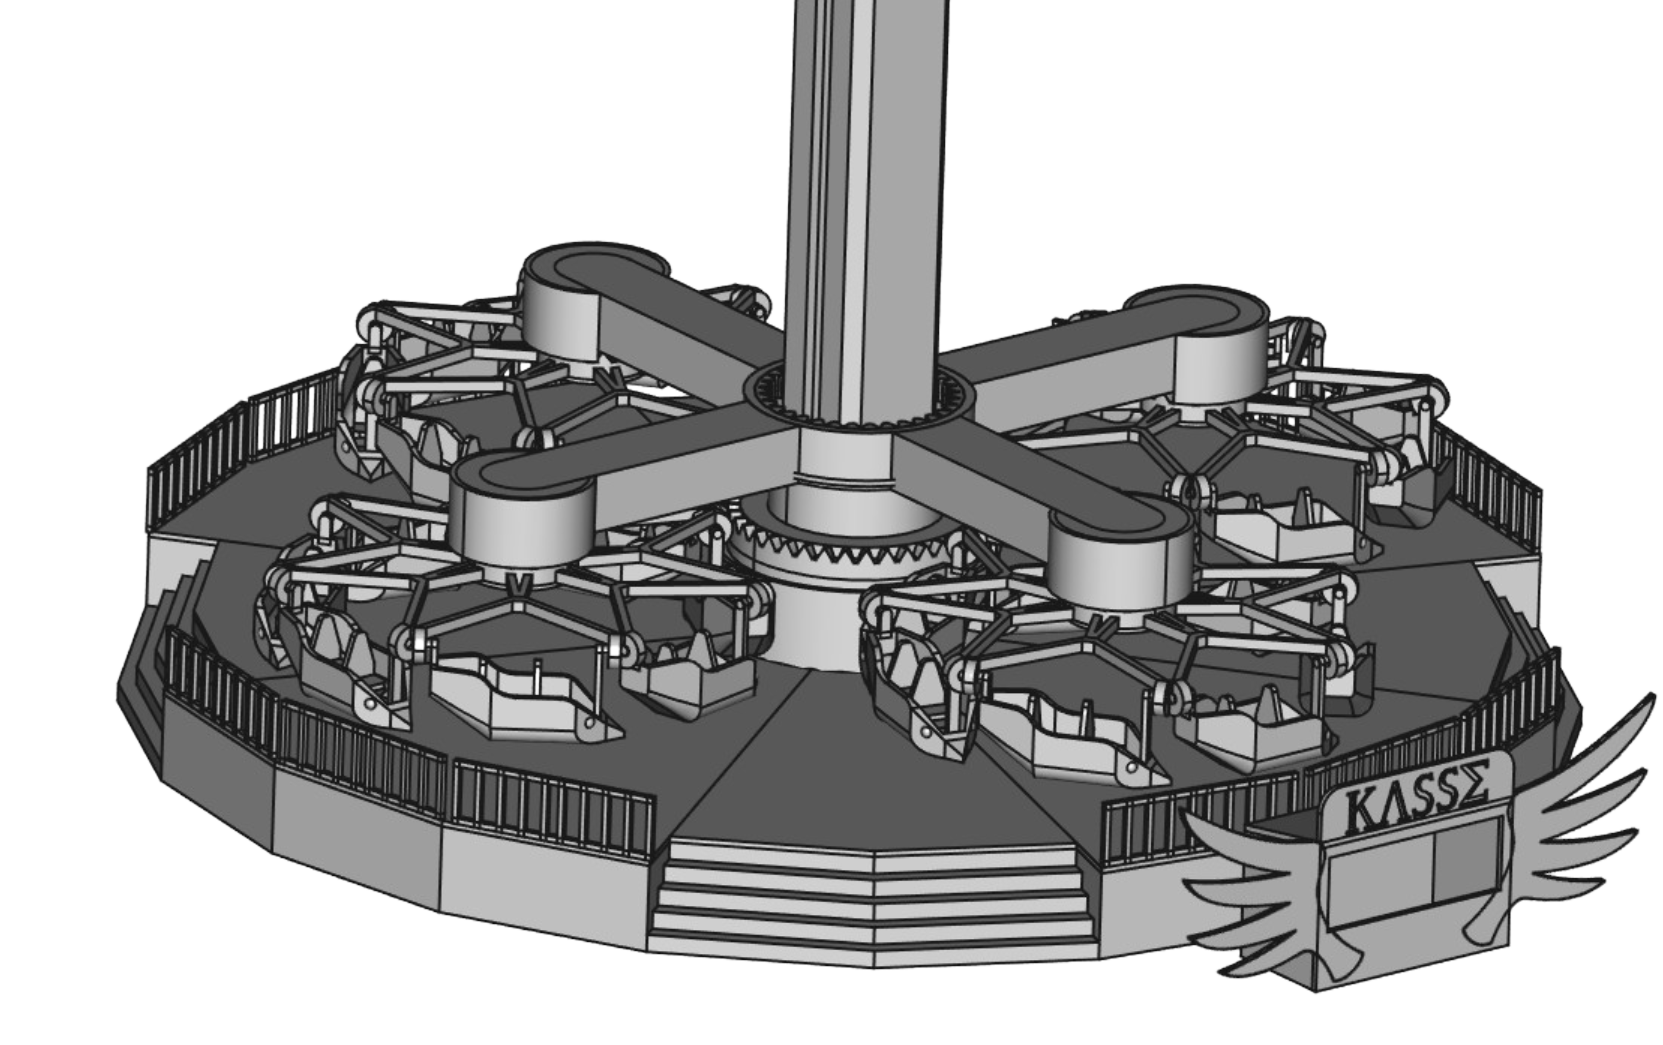
Model: Top Spin

1:87 scale
Optimised for FDM
Arduino compatible
Step by step

Fresh from the workshop

Latest models

Freshly designed for your fairground world.

All models
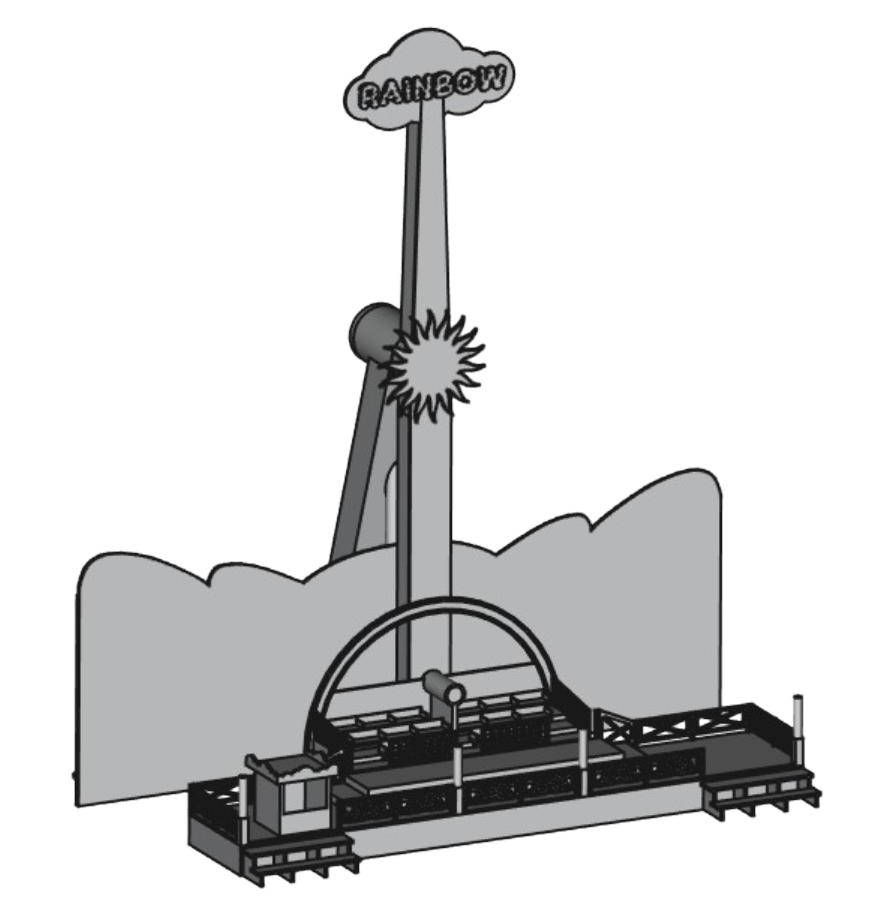
Rainbow Rides

Rainbow

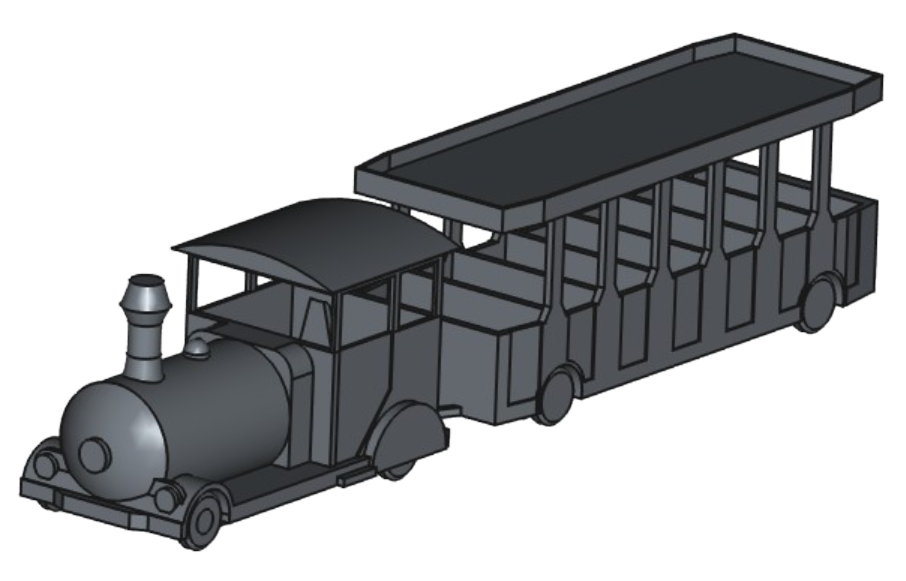
With the Rainbow, a true classic in H0 scale (1:87) comes to your miniature fairground. The large gondola moves up and down on its characteristic circular path along the two arms...
View model
Fun-House Rides

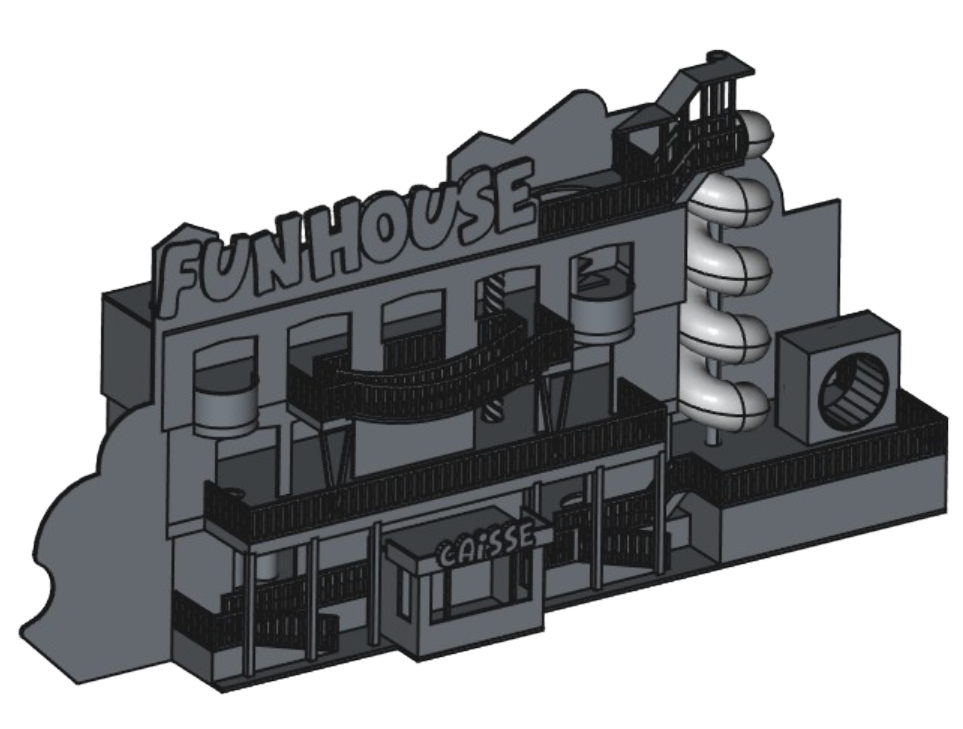
Fun-House

With the FunHouse, you can bring a classic funhouse in H0 scale (1:87) to your layout. Inspired by well-known funhouses, this model impresses with its compact design, multiple …
View model

More mini-fair

Models, insights and direct exchange.

Discover new projects, follow the build process or send a message on the channel that suits you.

170Followers on Cults3D
305Likes on Cults3D
541Sales on Cults3D
38Models on Cults3D

Live from Cults3D · synced 10/18/2026

Simply get started

From an idea to a moving model

Create your own H0-scale ride in four clear steps.

01

Choose a model

Choose your favourite ride from the collection.

02

Get the electronics

All required components are clearly listed with the model.

03

Print the parts

Download the STL files and print them on your FDM printer.

04

Assemble

Follow the instructions and bring your model to life.

Designed for model builders

Fairground atmosphere, precisely engineered

Every mini-fair model is developed for functional 3D printing. Clear instructions, suitable electronics and well-designed parts turn an STL file into a real highlight on your layout.

View building guide

In brief

Frequently asked questions

How do I receive the models after purchase?

After purchase, download the STL files directly from your Cults3D account. No physical parts are shipped.

What print settings do I need?

Use the standard print settings for your printer and follow the instructions on the filament and for your printer. You can leave support generation set to automatic. I generally use a layer height of 0.2mm and a 0.4mm nozzle. Special print settings, if needed, are described in the respective instructions.

How is an Arduino programmed?

What you need

  • An Arduino (e. g. Arduino Uno or Nano)
  • A USB cable that fits your Arduino
  • A computer (Windows, macOS or Linux)
  • The Arduino IDE (free software)
  • The specific code for your ride (provided on the page of the respective ride)

Step 1: Download and install the Arduino IDE

  1. Visit the official Arduino website: https://www.arduino.cc/en/software
  2. Download the appropriate version for your operating system.
  3. Install the software by following the on-screen instructions.

Step 2: Connect the Arduino to the computer

  1. Connect your Arduino to the computer using the USB cable.
  2. The green LED on the Arduino should light up – this indicates that it is being powered.

Step 3: Set up the Arduino IDE

  1. Start the Arduino IDE.
  2. Go to the menu Tools > Board and select your Arduino model (e. g. "Arduino Uno").
  3. Go to Tools > Port and select the port to which your Arduino is connected (e. g. "COM3" or "/dev/ttyUSB0").

Step 4: Open code

  1. Click on File > Open in the Arduino IDE.
  2. Navigate to the location where you saved the code for your ride and open the corresponding file (with the extension .ino).

Step 5: Verify and upload code

  1. Click on the checkmark icon (✔️) in the top left to verify the code.
  2. If no errors are displayed, click on the right arrow (➡️) to upload the code to the Arduino.
  3. After uploading, your ride should work as intended.

Step 6: Test function

After a successful upload, you can test whether everything works as desired. Check the provided wiring diagrams against your cabling as well.


Additional tips

  • If you are unsure which Arduino model you have, you can usually find the model designation printed directly on the board.
  • If you encounter issues when uploading the code, check whether the correct port and correct board are selected in the Arduino IDE.
  • On https://www.arduino.cc/en/Tutorial/HomePage you will find further helpful tutorials and examples.

Video tutorial

For a visual guide, you can watch the following video:

https://www.youtube.com/watch?v=hpSA20zG8b4
Which printers are supported?

The models are optimised for standard FDM 3D printers. Model-specific settings are listed directly on each model page.

Ready for your miniature fairground?

Find your next build project.

Explore all models